Image Classification / Image Recognition
Hello everyone! this tutorial is based on our youtube video for Image-Classification.
Scope: This tutorial is for beginners, who are not familiar with deep learning concepts as we will use pre-trained models.
Background: Deep learning algorithms (such as AlexNet, GoogleNet, MobileNet, VGGNet, etc) take input –> image (typically 224 x 224 size) and output –> class name (e.g cat, dog, etc.). The deep learning algorithms (also known as Classifier in our case) extract salient(most noticeable or important) features and based on those features classify the input image into a class label (e.g cat, dog, etc.).
Install and load dependencies
The complete details for installations and setting up the environment are already mentioned in our youtube video (please follow the steps).
We believe you have already set up the environment, let’s start by importing the dependencies in jupyter notebook. The text after “#” shows comments, and reminds you how this dependency got installed.
import tensorflow as tf  ## pip install tensorflow
import numpy as np ## pip install numpy
import cv2  ### pip install opencv-python
from PIL import Image ## pip install Pillow
Loading /reading the image
There are several methods to load the image, in this tutorial we will be focusing on the typical 4 methods.
- Load Image using IPython (python built-in feature)
- Load Image using TensorFlow(Keras API provides pre-processing features)
- Load Image using OpenCV-python
- Load Image using pillow (python pre-installed package, or install it accordingly)
Method 1: Load and display Image using IPython
from IPython.display import Image
Image(filename = 'Your PC path to image along with format',width= 224, height= 224)
After executing the following code, an image will be displayed on you jupyter notebook as shown below:
Example:

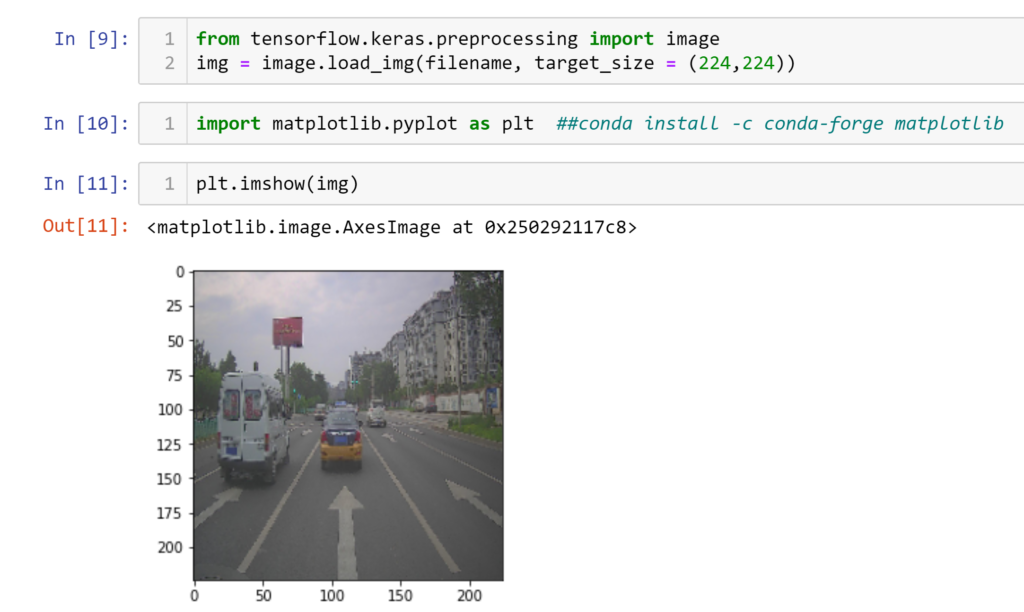
Method 2: Load image using TensorFlow-Keras API
from tensorflow.keras.preprocessing import image
img = image.load_img(filename, target_size = (224,224))
After executing the following code, an image will be displayed on you jupyter notebook as shown below:
Example:
Method 3: Load and display image using OpenCV
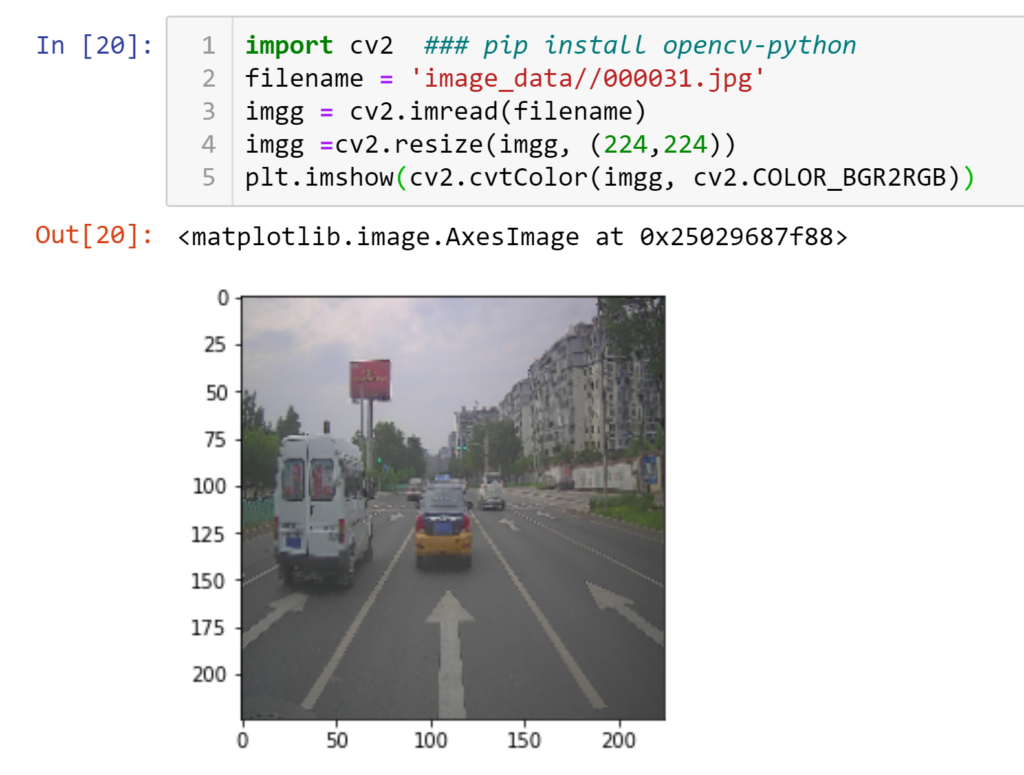
import cv2  ### pip install opencv-python
filename = 'image_data//000031.jpg'
imgg = cv2.imread(filename)
imgg =cv2.resize(imgg, (224,224))
plt.imshow(cv2.cvtColor(imgg, cv2.COLOR_BGR2RGB))
After executing the following code, an image will be displayed on you jupyter notebook as shown below:
Example:
Method 4: Load image using TensorFlow-Keras API
from PIL import Image ## pip install Pillow
im = Image.open(filename)  ## PIL
im = im.resize((224,224))
plt.imshow(im)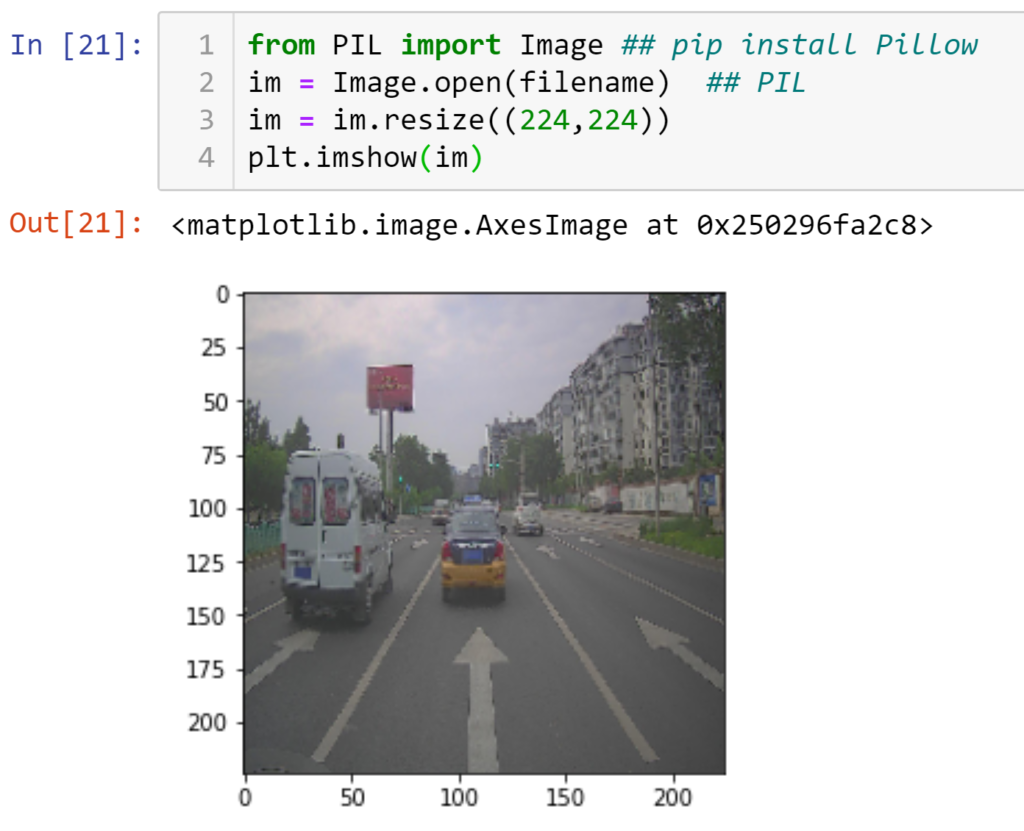
Loading Pre-Trained Model
Typically, for Image classification, following steps are involved.
- Pre-processing of Images (resizing, rotation, augmentation, etc.)
- Dataset splitting (Train, validate, test)
- Creating a deep learning model (Typically combination of CNNs)
- Training the deep learning model
- Testing the model on test dataset
- Predictions on unseen data/images.
In this tutorial, we will not train our own dataset, rather, we will be using a pre-trained model on ImageNet dataset. ImageNet dataset contains 1000 classes (i.e. cat, dog, car etc.).
Among many famous deep learning models such as AlexNet, GoogleNet, VGGNet, MobileNetv1,v2 etc. For this tutorial, we will utilize MobilenetV2 (pre-trained on ImageNet dataset).
Lets load the deep learning model
Luckily, Keras APi inside TensorFlow provides plenty of options for pre-trained models, you may choose any other of your choice once you get familiar with any of them knowing the fact, why you chose any of them. MobileNet was the lightweight version among all, when writing this tutorial. However, you can find other like EfficientNet (more lightweight than mobileNetv2). Here, lightweight means having less computations and parameters, so that it can be executed faster.
As this tutorial is for beginners, we use mobileNetv2.
mobile = tf.keras.applications.mobilenet_v2.MobileNetV2()Loading Image for Predictions (for Image Classification)
You can download any image from internet, or utilize your own images. However, make sure that it must contains classes from ImageNet dataset as our pre-trained model is trained on 1000 classes. See the complete list.
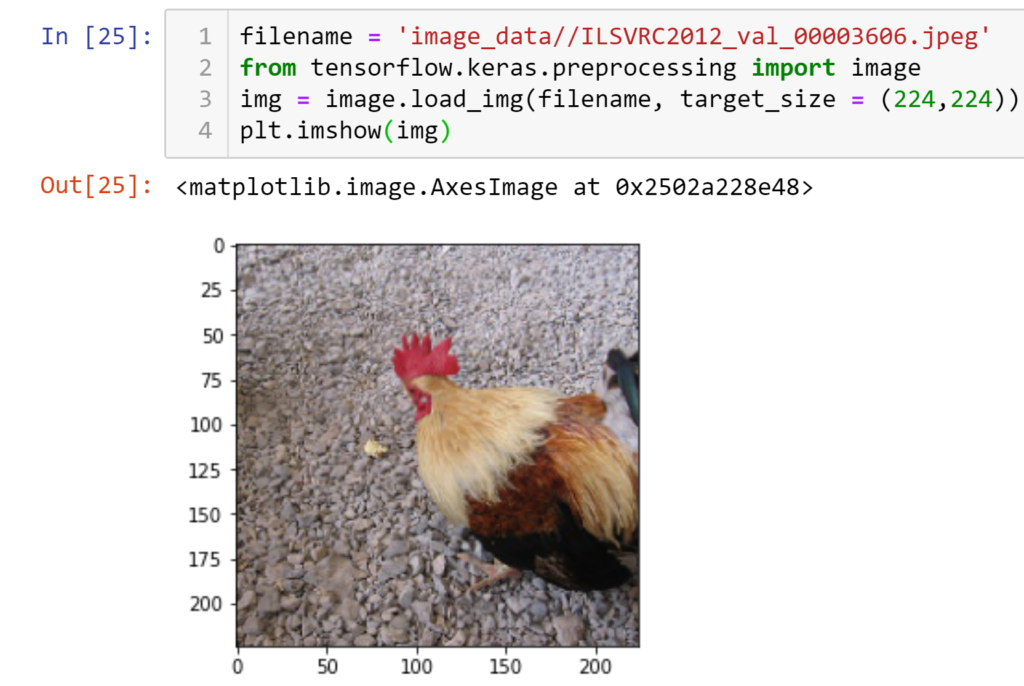
Lets load image using one of the aforementioned methods.For example, using TensorFlow (Keras API). As most pre-trained models are trained on image size of 224×224, we load and resize the image accordingly.
filename = 'image_data//ILSVRC2012_val_00003606.jpeg'
from tensorflow.keras.preprocessing import image
img = image.load_img(filename, target_size = (224,224))
plt.imshow(img)
After executing the following code, an image will be displayed on you jupyter notebook as shown below:
Example:
Expanding dimensions for convolution operations
resized_img = image.img_to_array(img)
final_image =  np.expand_dims(resized_img,axis =0)  ## need fourth dimension
final_image=tf.keras.applications.mobilenet.preprocess_input(final_image)
final_image.shape
Line “2” utilize numpy attribute to expand the dimensions of image from 3 to 4 dimension. Previously, 224×224 is image dimension, 3 is for RGB (Red,Green, Blue) channels. Now, 1 additional dimension is required for convolution operations. Similarly, Line “3” of above code will make sure to preprocess the image according to mobilenet format.
Output:
(1, 224, 224, 3)
Apply Predictions on Image using pre-Trained model
Now, its time to apply predictions on a loaded image a pretrained model.
Summary:
- We loaded image, resized it , applied pre-processing required by the particular model (mobilenetv2 in our case).
- We loaded pretrained model named such as mobilenetv2 which is already been trained on ImageNet dateset having 1000 classes.
- Our input image contains “cock” which already exist in 1000 classes, therefore, model should have no problem to predict that its a cock and classify this image accordingly.
Lets apply prediction now using following code:
predictions = mobile.predict(final_image)
from tensorflow.keras.applications import imagenet_utils
results = imagenet_utils.decode_predictions(predictions)
print(results)## mobilenet v2 of 2018
Output: The top five predictions, as expected the class ‘cock’ has highest probability values.
[[('n01514668', 'cock', 0.95692945), ('n01514859', 'hen', 0.032631382), ('n01807496', 'partridge', 0.0003097788), ('n02437616', 'llama', 0.00014671635), ('n01616318', 'vulture', 0.00013141289)]] The output contains list of tuples, having ID, class_Label(e.g, cat, dog , etc), and confidence (class probability)
To get rid of all other five outputs and print only highest probability predicted by our model, following is the code
Best_Prediction = [item[0] for item in results]
print(Best_Prediction) # id, class label, confidence(probability)
final_PredictedClass = [item[1] for item in Best_Prediction]
print(final_PredictedClass)
Output:
[('n01514668', 'cock', 0.95692945)]
['cock']
Homework: Try any image and follow the steps. In case it has multiple classes, see the interesting results.
Technically, if you want to locate multiple objects inside in image, this problem is related to “Object Detection“, you can see our tutorial on Object Detection. Best of luck! for your future. Keep supporting us.
For complete understanding of concept, we refer you to our basic tutorial on image classification on YouTube.
